By Brian Evans – brianevansphoto.com
When talking to amateur photographers who are new to the hobby, they often tell me while they have no problems finding great subjects to shoot, some of them struggle with transitioning from taking “snapshots” to making photos that are a cut above. Because there are tons of techniques and rules out there, I try not to overwhelm folks with a ton of ideas to take in all at once. I tend to start small with the concept I think gets them the most bang for their composition buck.
If there’s one key idea that a budding photographer can focus on to drastically improve their photography, it’s learning how to apply the rule of thirds. Like most “rules” about photography it’s really a rule of thumb rather than and a hard and fast mandate. I find as beginners start to compose scenes in their heads using the rule of thirds concept, they start to train their eye in a very specific way. By repeatedly applying the rule of thirds they start to see hidden potential in scenes and they begin constructing their compositions in a way that produces more creative and pleasing photos.
So for the uninitiated, what exactly is the rule of thirds? Imagine your scene overlaid by two evenly spaced horizontal lines and two evenly spaced vertical lines so you have a grid of nine evenly distributed boxes. To compose your scene using the rule of thirds, you ideally should place the dominant compositional elements of the photo on either one of the vertical or horizontal lines or at the points where these lines intersect.
Fans of the rule of thirds will tell you that by placing key points of interest in these strategic areas creates positive tension and energy in a photo. Personally, I try not to get too bogged down in design-speak when trying to explain things, so the best plain English translation I can offer is that photos using the rule of thirds just tend to be more interesting to the eye.
In the first example below, you can see I placed the waterfall along a vertical line, the top shelf of the rock face is roughly aligned with the top horizontal line, and the rock in the foreground hits a sweet spot in the bottom right hand side.
The rule of thirds isn’t restricted just to certain types of photography. Its rules can be applied to a wide range of subjects and styles. In this story-telling photo of my son awaiting the arrival of the annual Lititz 4th of July Parade by lining up his body and gaze on the vertical line to the right it helps illustrate his sense of anticipation by giving him space in the photograph to “look in to.”
It doesn’t matter if it’s a person, a pet, (or in this case) an animal at the zoo, making sure an eye is lined up with one of the intersections always makes for a compelling shot.
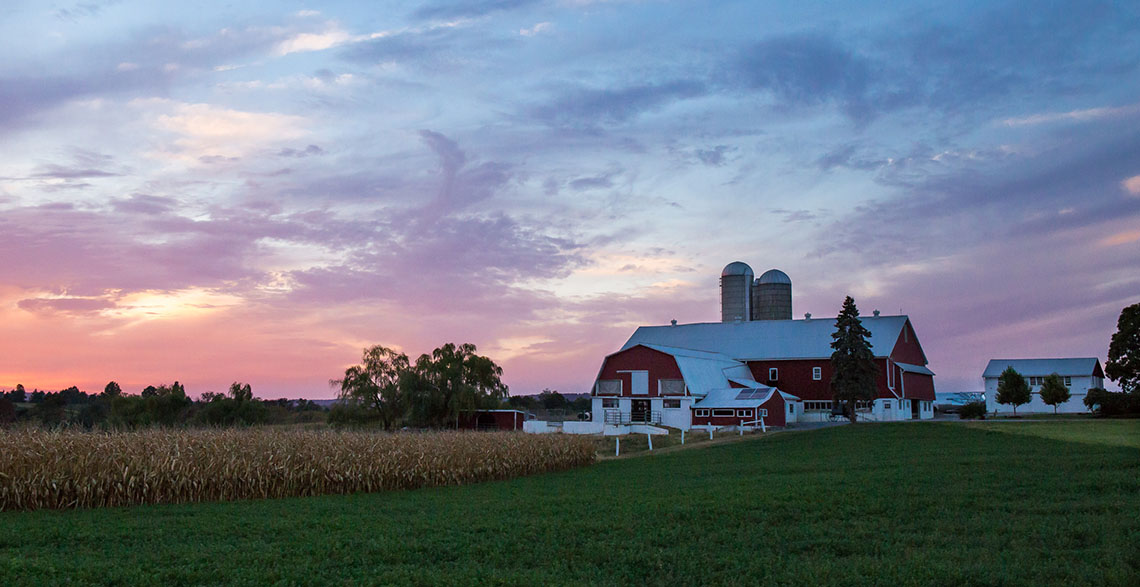
The rule of thirds doesn’t just apply to horizontal shots. I can be applied to vertical shots and non-traditional crops such as the mini-panorama below.

Just like any skill, practice makes perfect. After enough reps using the rule of thirds to compose your photos, you’ll find yourself automatically lining up shots in your viewfinder for maximum impact without giving it a second thought. Conversely, your eye will be properly trained so you’ll also easily be able to identify instances when using the rule of thirds isn’t the best choice. After all, rules were meant to broken, or at least that’s what my 4-year-old reminds me on a daily basis. Here’s another helpful article on the Rule of Thirds.


